Create vK8s Stateful Sets
Objective
This guide provides instructions on how to create and manage StatefulSets for applications running on F5® Distributed Cloud Services virtual Kubernetes (vK8s) deployments. A StatefulSet is a controller for stateful applications, such as databases, and manages the deployment and scaling of pods. It also guarantees the uniqueness and ordering of the pods.
Similar to the Deployment, the StatefulSet manages pods that are based on an identical container specification. Additionally, StatefulSet maintains a sticky identity for each pod. These pods are created from the same specification but are not interchangeable. That is, each gets a persistent identifier that it maintains across any rescheduling. For more information, see StatefulSets.
StatefulSet also supports specifying Persistent Volume Claim (PVC) for the service or application. For more information on PVC configuration, see Create PVCs.
Using the instructions provided in this guide, you can create a StatefulSet for a service, perform scaling of pods using the StatefulSet, and delete the StatefulSet.
Note: For an application to consume storage resources, it needs to be provisioned by the cluster administrator. This guide assumes that the administrator configured dynamic provisioning of storage resources.
Prerequisites
The following prerequisites apply:
-
An F5 Distributed Cloud Account. If you do not have an account, see Getting Started with Console.
-
An application deployed using Distributed Cloud Services vK8s. See vK8s Deployment guide to deploy your applications on the Distributed Cloud Services network.
Configuration
You can create a StatefulSet using one of the following methods:
-
Create a StatefulSet in F5® Distributed Cloud Console (Console).
-
Download the kubeconfig file of your vK8s deployment from Console and use the terminal (with the kubectl tool) to create StatefulSet.
Note: For both methods, you must first create the vK8s in Console.
The example shown in this guide assumes the NGINX service is created to control network domain.
Note: Pods created on a site via Deployment, StatefulSet, Job, and CronJob in vK8s are configured with the site labels as environment variables. If the labels are changed on a site, the pods are restarted with the changed labels set as environment variables.
Create StatefulSet in Console
Step 1: Log into Console.
- In Console, click
Distributed Apps.
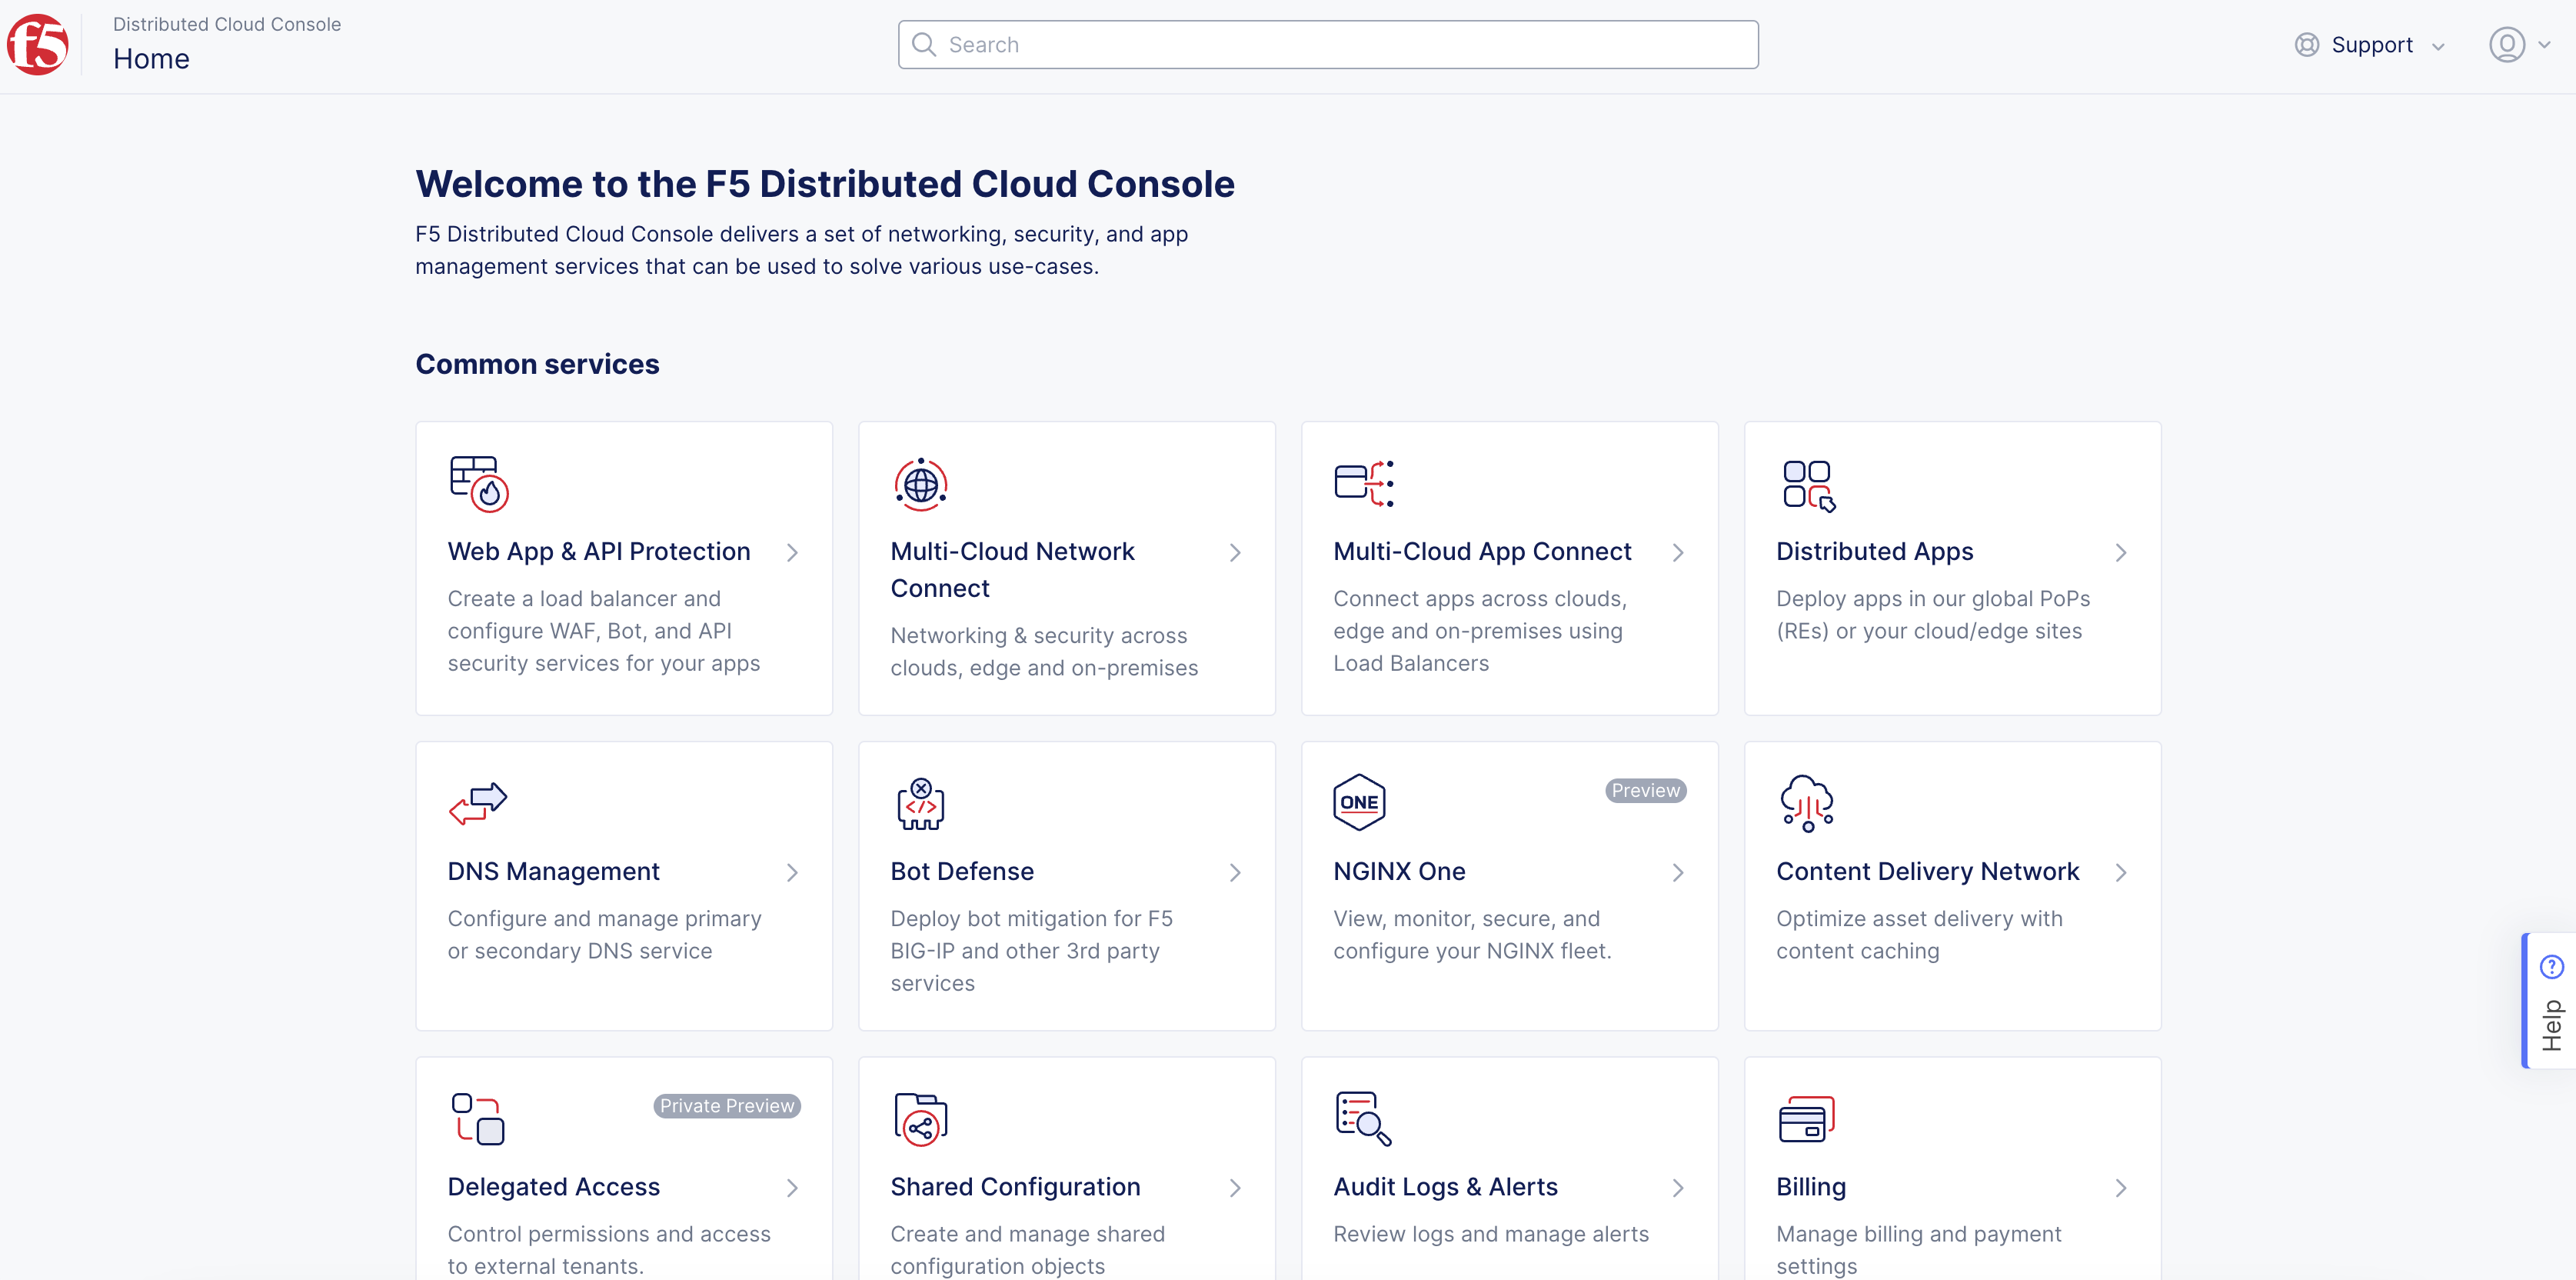
Figure: Console Homepage
- Click
Applications>Virtual K8s.
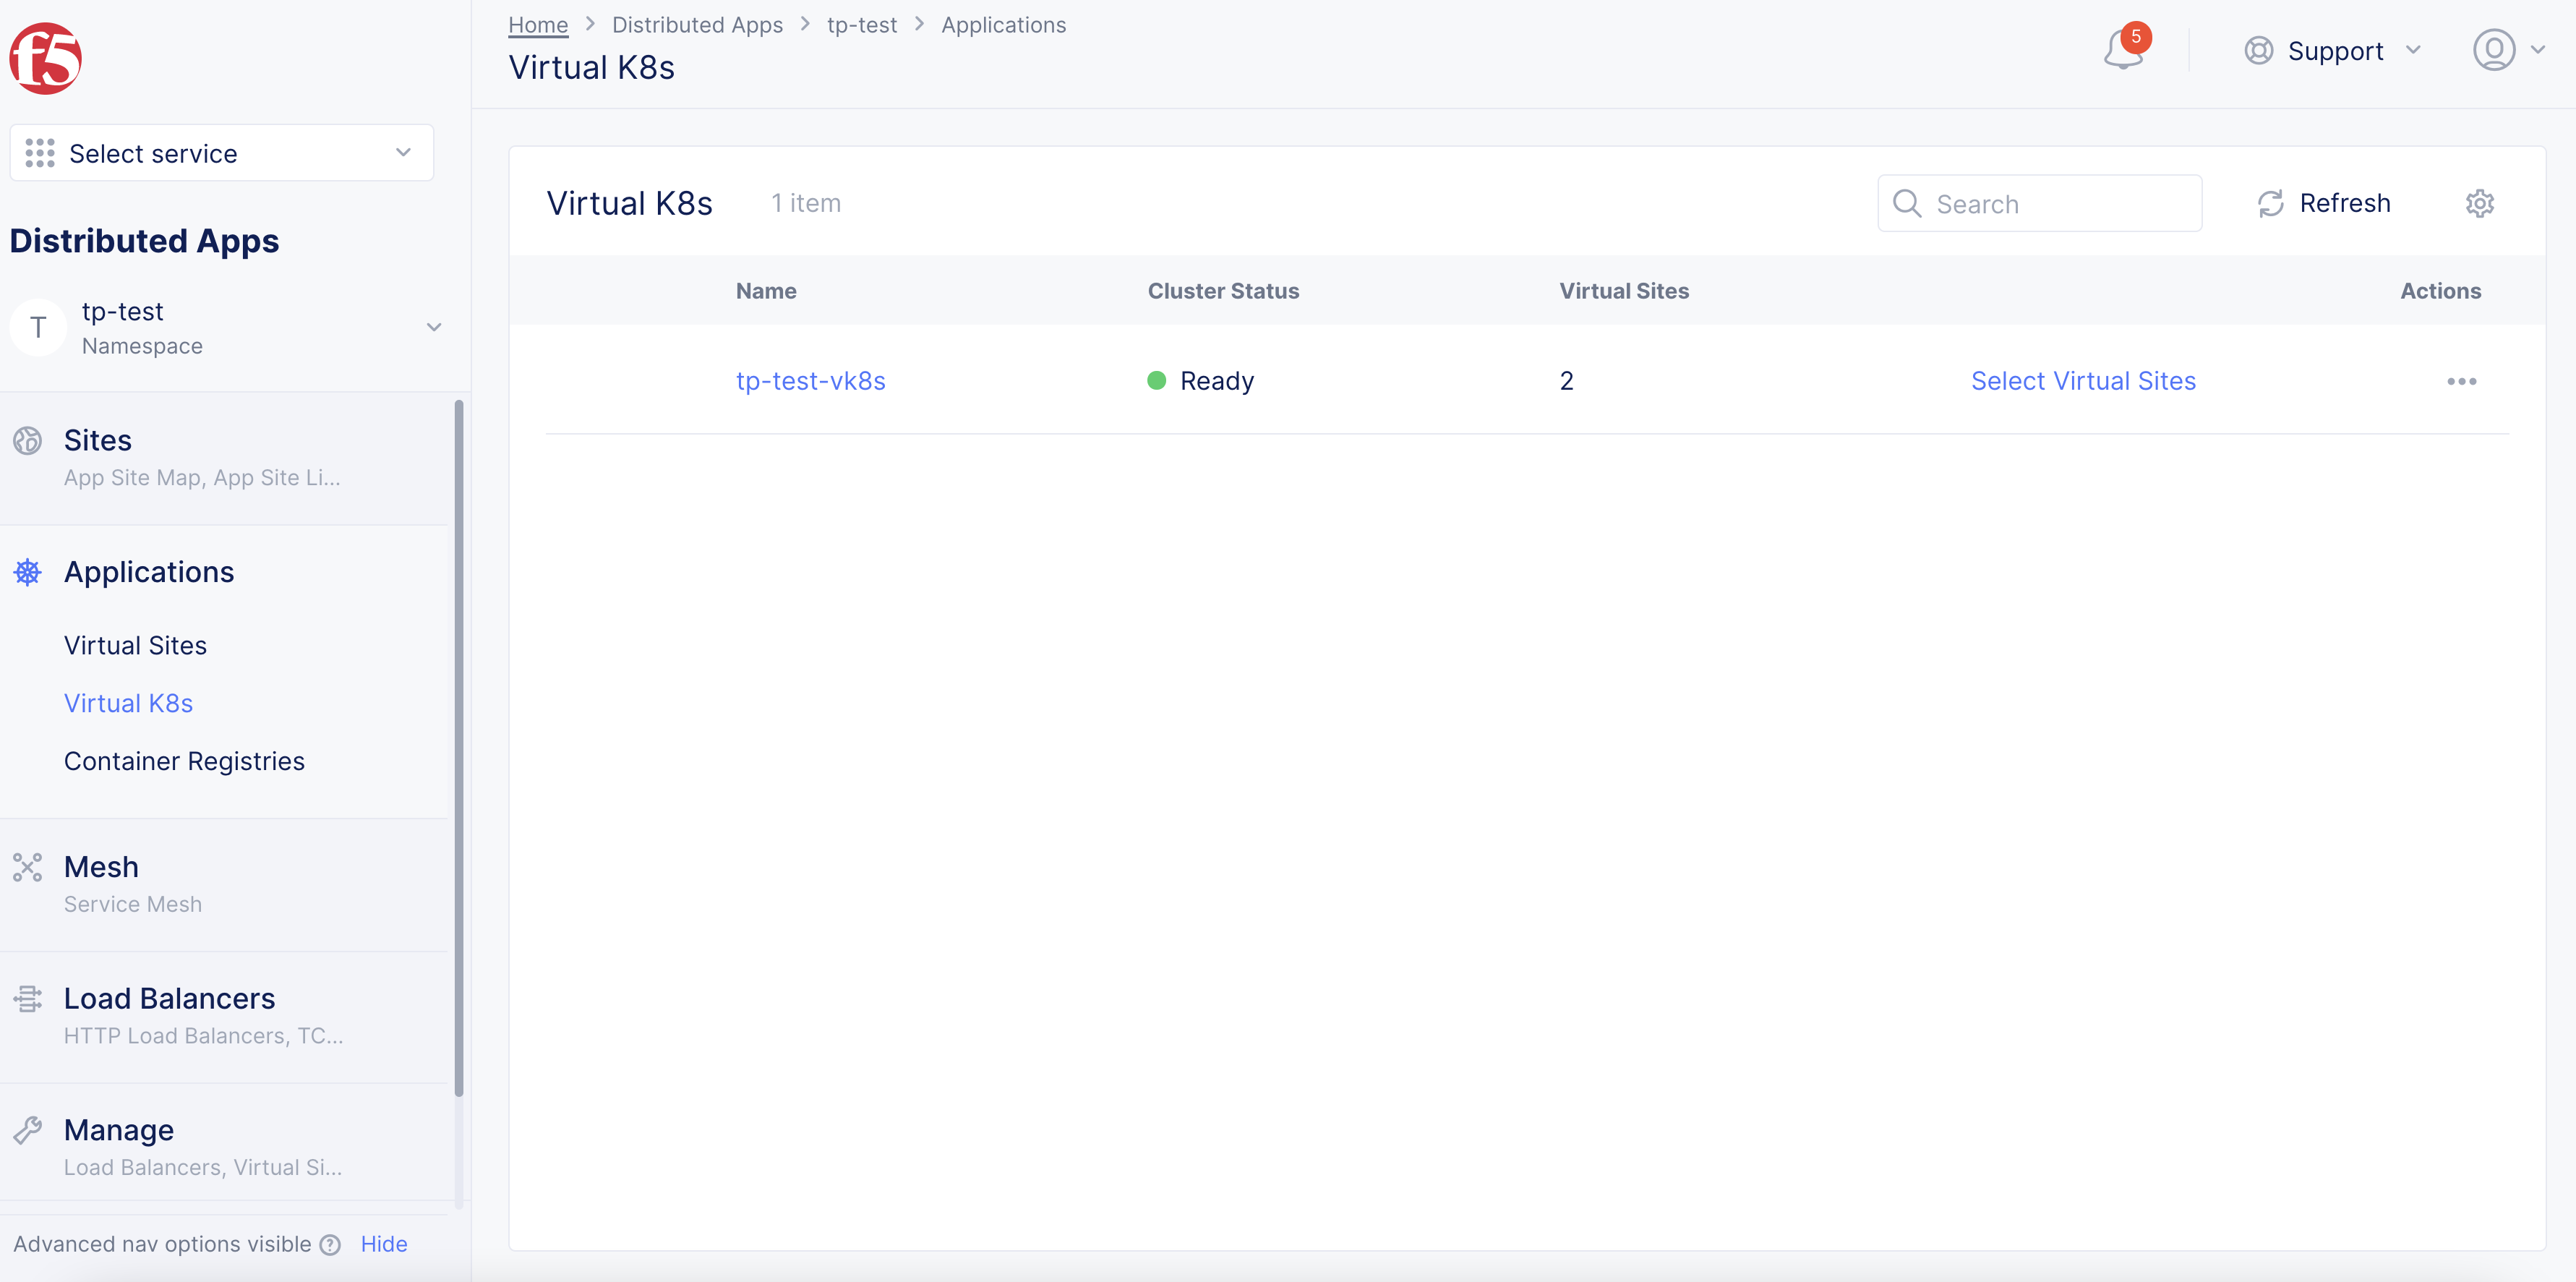
Figure: Virtual K8s List
- Click on the vK8s object to open its dashboard.
Note: If the vK8s object was not previously created, the
Add virtual K8soption will be available to create vK8s. See vK8s Deployment guides for more information.
Step 2: Load the StatefulSet creation form.
- From the dashboard, click the
Stateful Setstab.
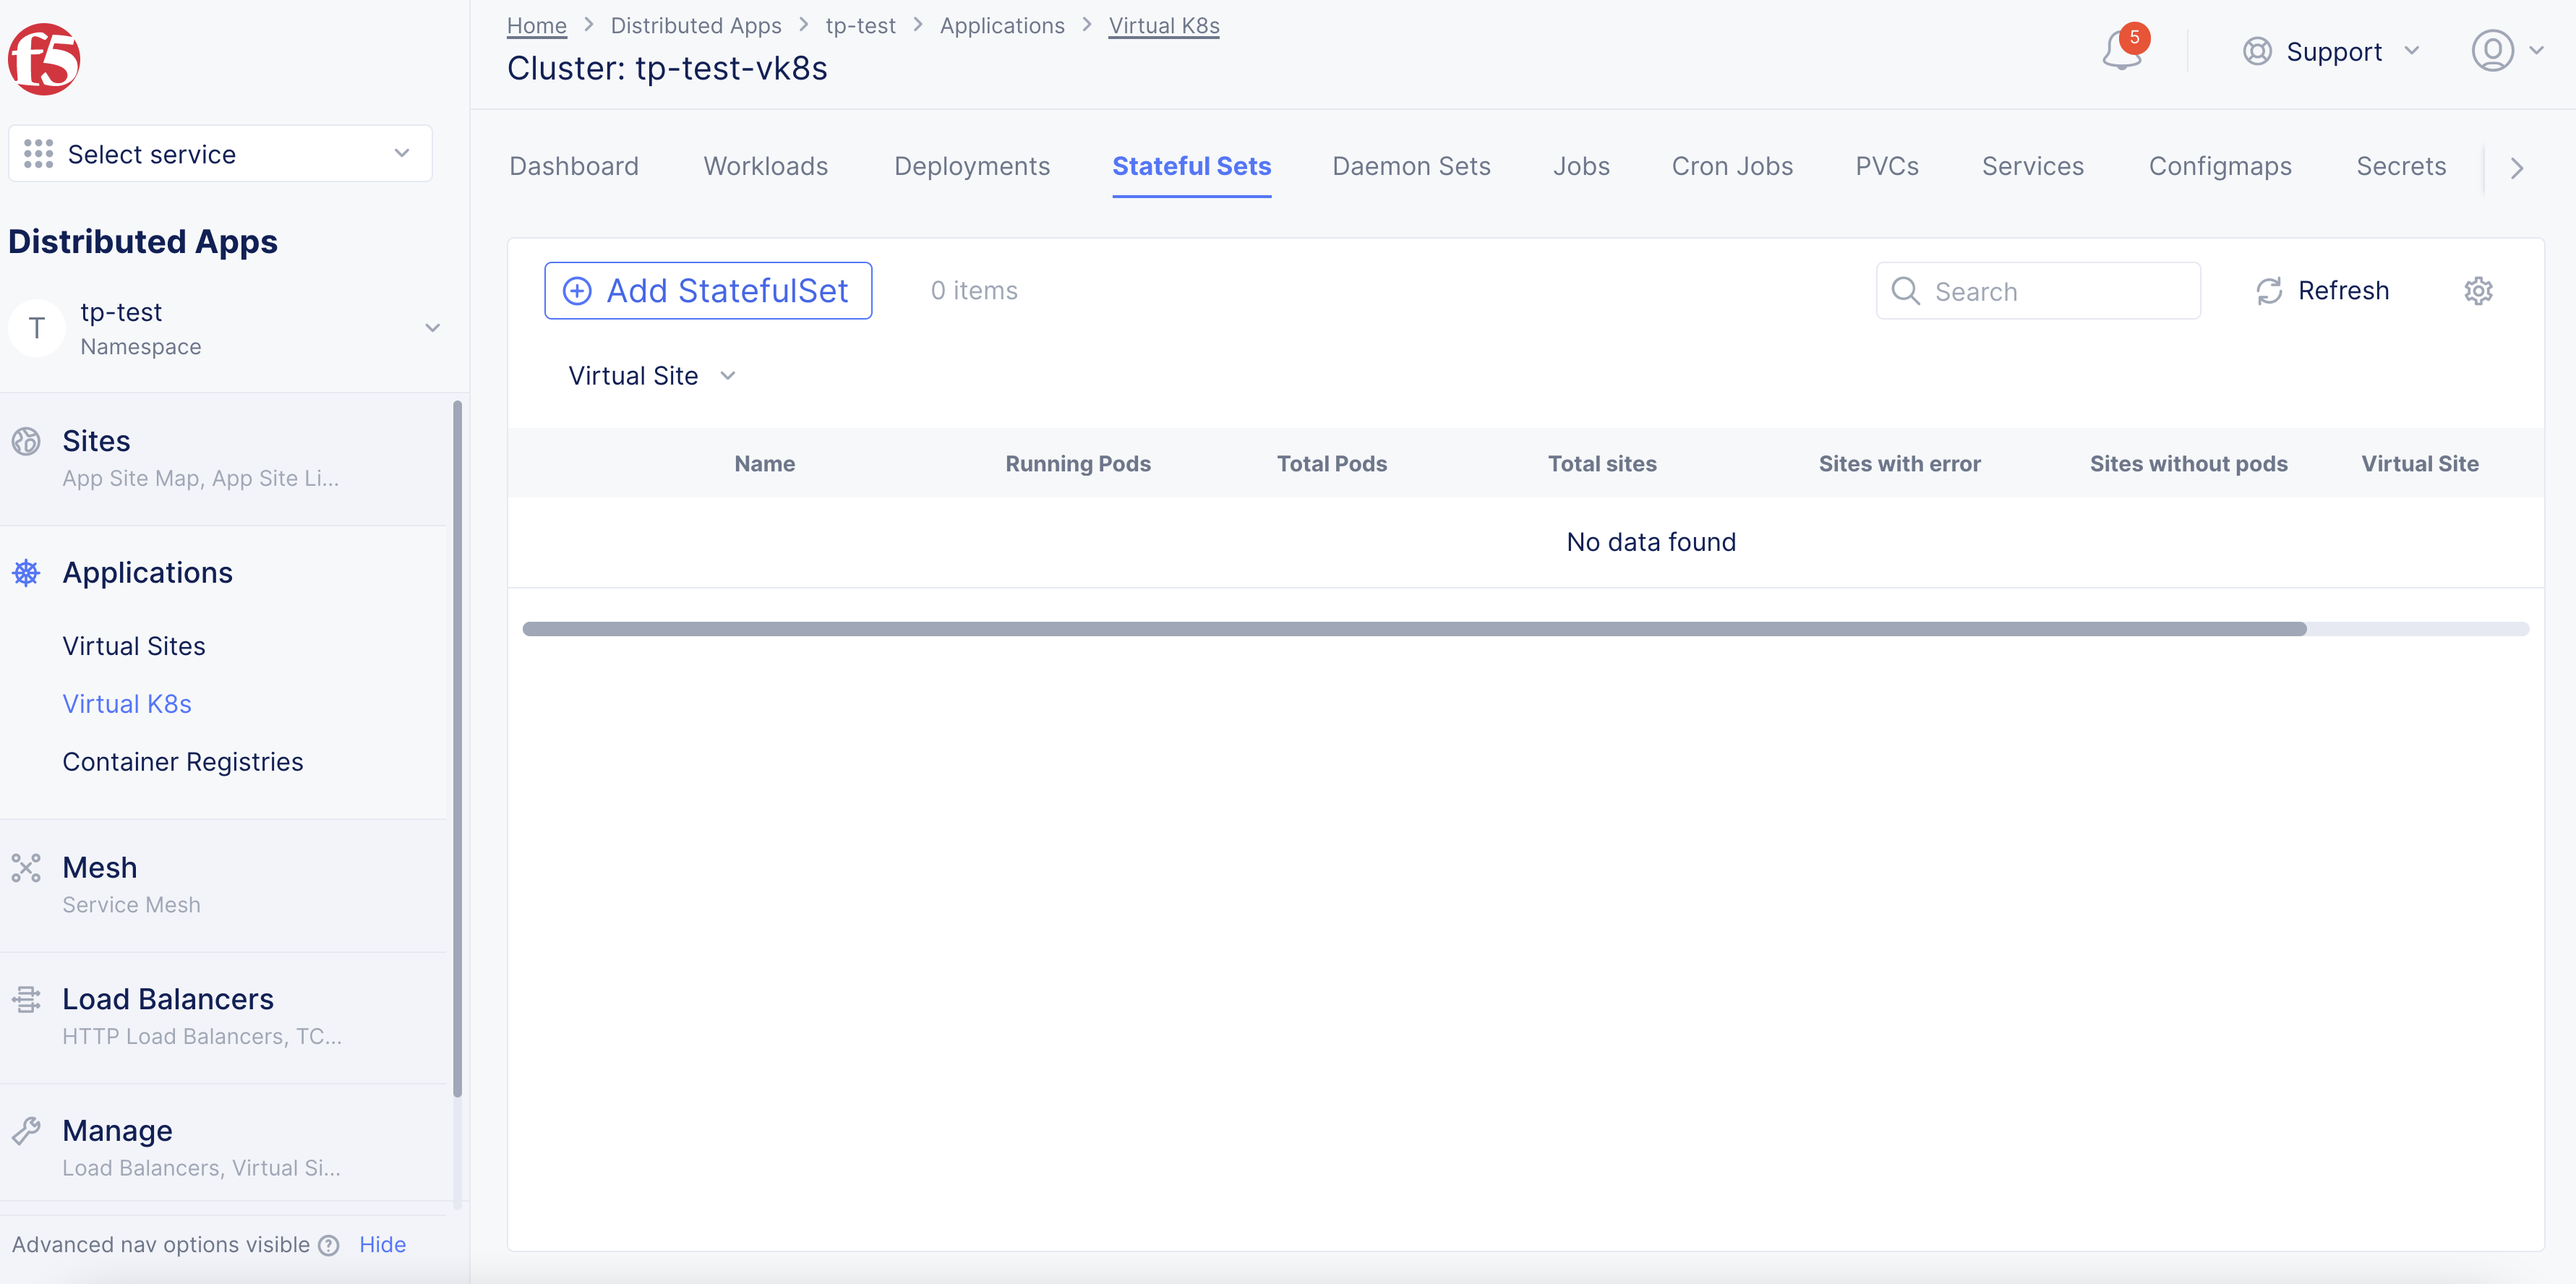
Figure: Dashboard
- Click
Add StatefulSetto load the creation form.
Step 3: Complete StatefulSet information.
-
Enter the StatefulSet configuration.
-
Click
Saveto create the StatefulSet and associated pods.
Note: The
volumeClaimTemplatessection of the configuration specifies the PVC configuration information. Also, ensure that you specify the appropriate labels in theSelectorfield so that the pods are selected accordingly.
Create Service and StatefulSet Using Kubectl
Step 1: Log into Console.
- In Console, click
Distributed Apps.
Figure: Console Homepage
- Click
Applications>Virtual K8s.
Figure: Virtual K8s List
Step 2: Download the file.
-
Find the vk8s object and click
.... -
Click
Kubeconfig.
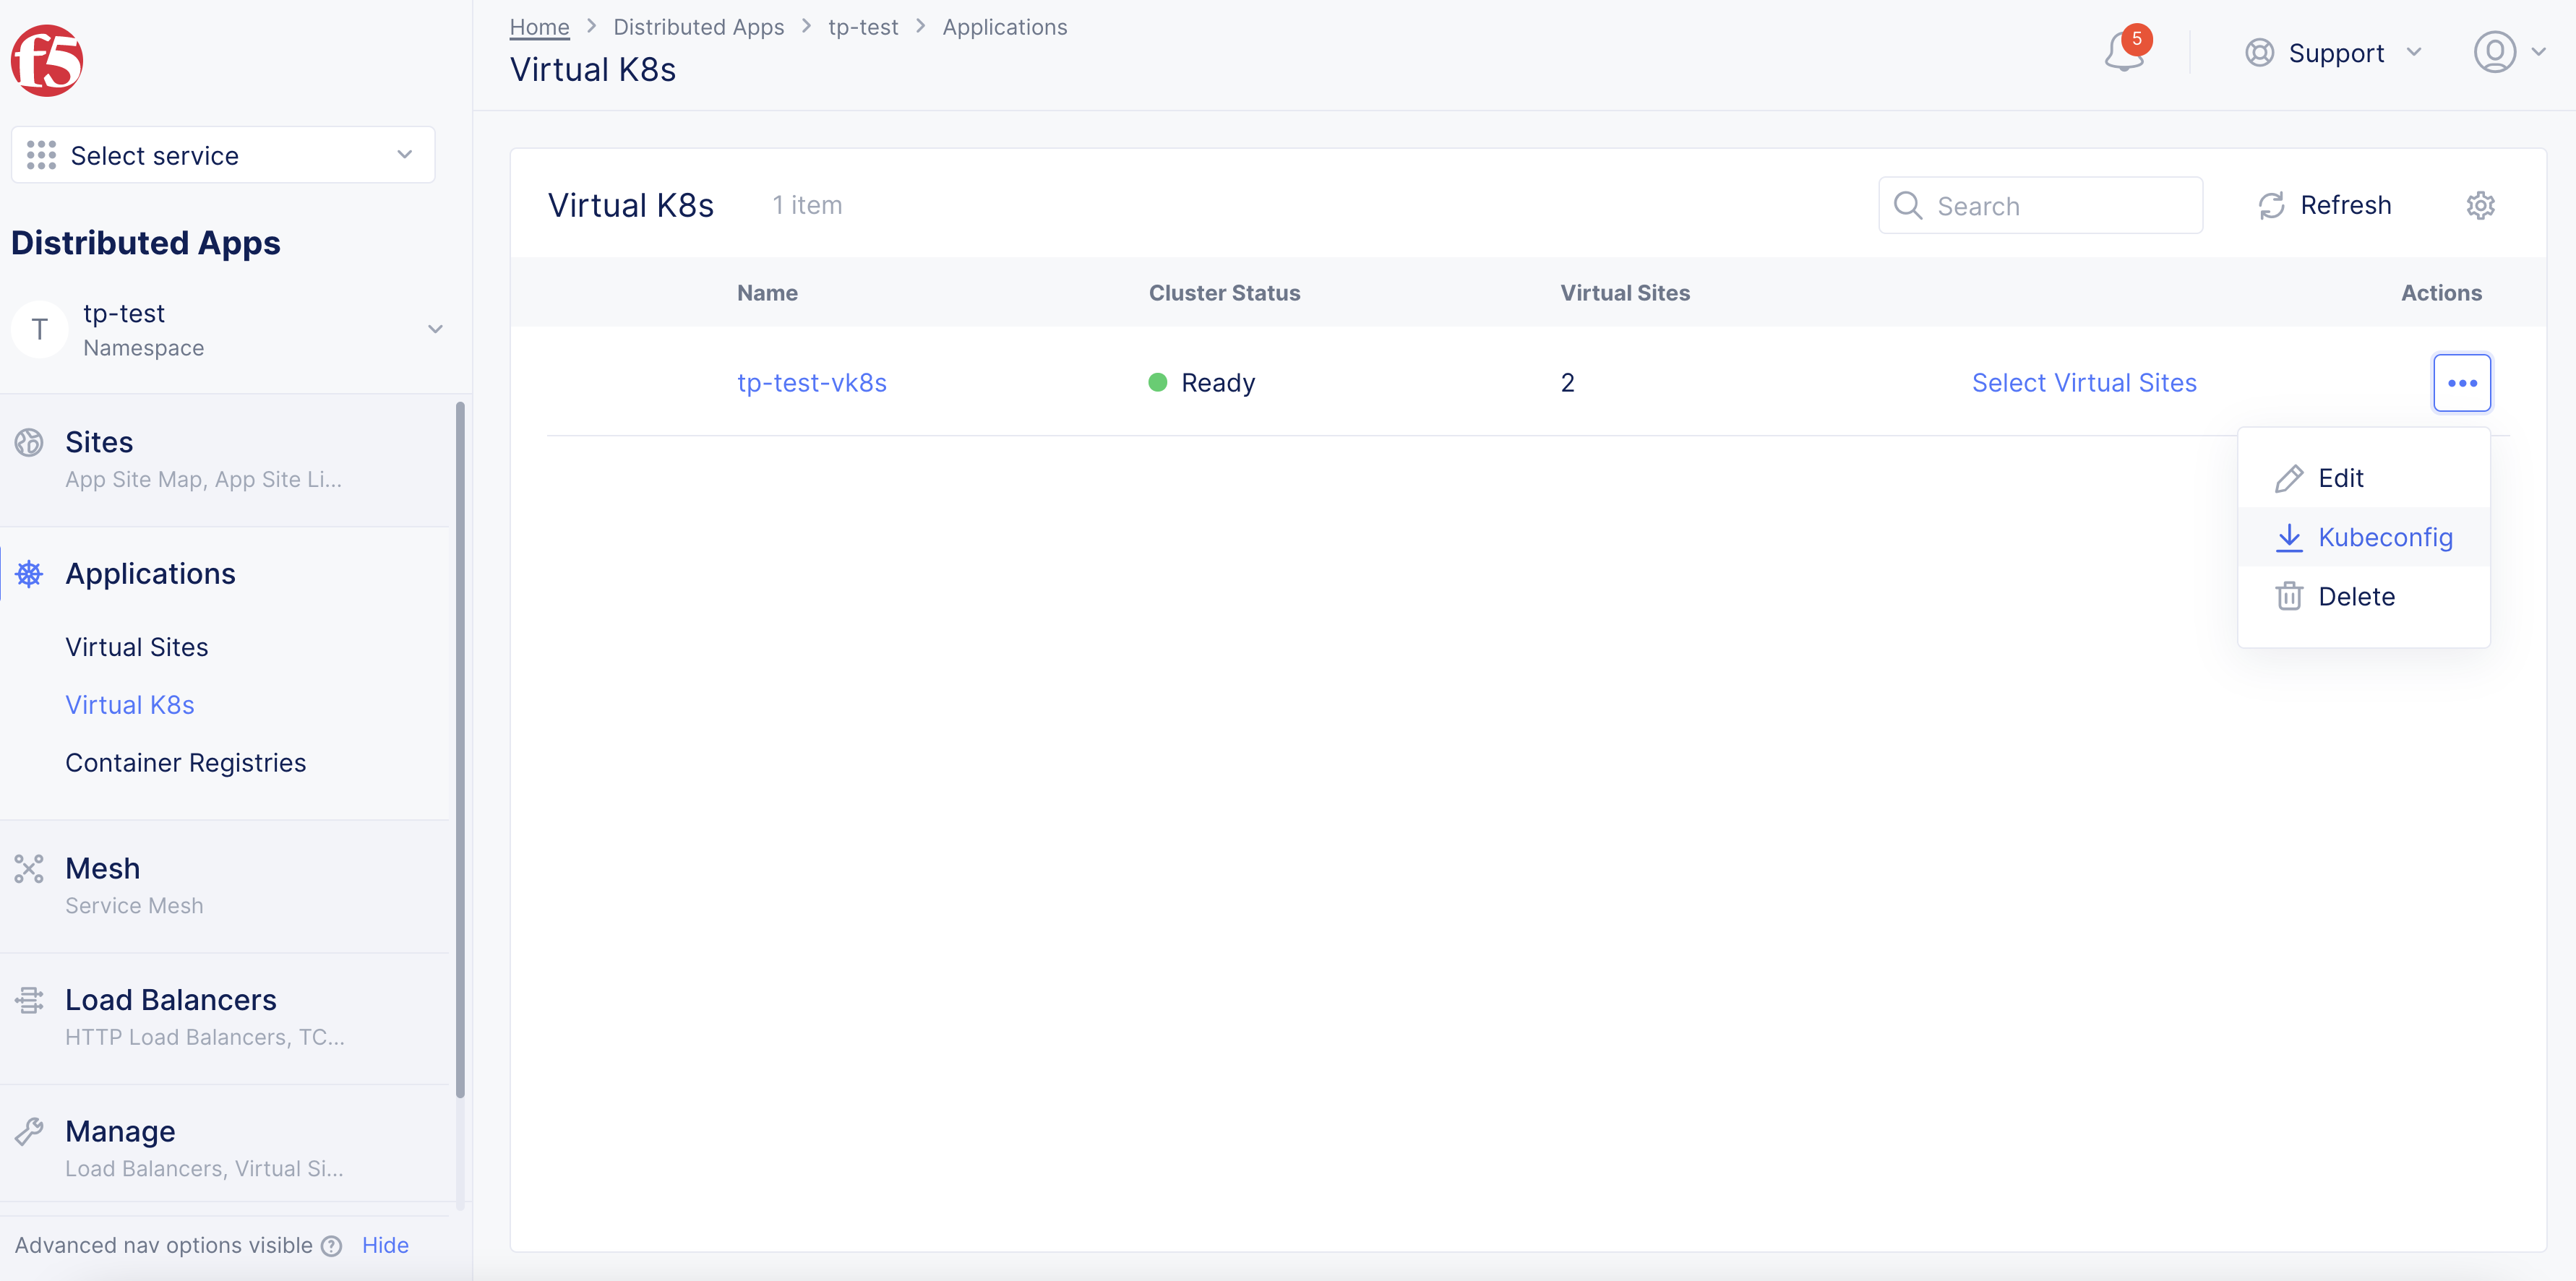
Figure: Download
Note: If the vK8s object was not previously created, the
Add virtual K8soption will be available to create vK8s. See vK8s Deployment guides for more information.
Step 3: Set expiration date for downloaded file.
-
In the popup window, select an expiration date for the downloaded file.
-
Click
Download Credential. The file takes a few seconds and then downloads to your local machine.
Step 4: Create the StatefulSet configuration file in JSON or YAML format.
-
Open the downloaded file.
-
Enter the information as required.
-
Save the changes made in the file.
This example shows a sample configuration file:
apiVersion: apps/v1kind: StatefulSetmetadata: name: web namespace: vk8s-stsspec: selector: matchLabels: app: nginx # has to match .spec.template.metadata.labels serviceName: "nginx" replicas: 3 # by default is 1 template: metadata: labels: app: nginx # has to match .spec.selector.matchLabels spec: terminationGracePeriodSeconds: 10 containers: - name: nginx image: k8s.gcr.io/nginx-slim:0.8 ports: - containerPort: 80 name: web volumeMounts: - name: www mountPath: /usr/share/nginx/html volumeClaimTemplates: - metadata: name: www spec: accessModes: [ "ReadWriteOnce" ] storageClassName: "my-storage-class" resources: requests: storage: 1GiStep 5: Create and export the environment variable using the kubeconfig file.
This example uses the kubeconfig file downloaded that was previously downloaded.
In the terminal, type export KUBECONFIG=~/Downloads/ves_vk8s-stc_vk8s1.yaml.
export KUBECONFIG=~/Downloads/ves_vk8s-stc_vk8s1.yamlStep 6: Create StatefulSet objects using the configuration file.
Type kubectl apply -f web.yml.
kubectl apply -f web.yml
service/nginx createdstatefulset.apps/web created
Step 7: Optionally, create a service configuration file in JSON or YAML format and use kubectl to apply the service.
This example shows the sample configuration file svc.yml:
apiVersion: v1kind: Servicemetadata: name: nginx namespace: vk8s-sts labels: app: nginxspec: ports: - port: 80 name: web clusterIP: None selector: app: nginxTo apply the service with the configuration file, type kubectl apply -f svc.yml.
kubectl apply -f svc.ymlNote: You can also update an existing service by adding appropriate labels of the StatefulSet to select the pods.
Verify StatefulSet Operation
Creating a StatefulSet workload controller creates the StatefulSet object. It also creates pods and PVCs per the specified value in the replicas field of the StatefulSet configuration. This example assumes that the configured replicas is 2.
You can verify the objects from the terminal using kubectl or from Console.
Verify StatefulSet from CLI Using Kubectl
Step 1: Verify the StatefulSet information from terminal.
-
To verify the StatefulSet information:
- Type
kubectl get statefulsets.
- Type
kubectl get statefulsetsNAME READY AGEweb 2/2 63m-
To verify service information:
- Type
kubectl get svc.
- Type
kubectl get svcNAME TYPE CLUSTER-IP EXTERNAL-IP PORT(S) AGEnginx ClusterIP 192.168.78.248 <none> 9080/TCP 62mStep 2: Verify the ordered pods information.
The StatefulSet creates pods in sequential order depending on the value of replicas. For a replicas value N, the pod sequence identifiers are assigned from 0 to N-1.
To verify the ordered pods, type kubectl get pods.
kubectl get podsNAME READY STATUS RESTARTS AGEdemo-ce-web-0 2/2 Running 0 66mdemo-ce-web-1 2/2 Running 0 65mThe pods in a StatefulSet have a sticky and unique identity. This identity is based on a unique ordinal index that is assigned to each pod by the StatefulSet controller. The pod names take the form <sitename>-<statefulsetname>-<ordinalindex>. Since the StatefulSet web in this example has two replicas, it creates two pods, demo-ce-web-0 and demo-ce-web-1.
Note: The
demo-ce-web-1pod is not launched until thedemo-ce-web-0pod status field value isRunning. For more information, see Pod Lifecycle.
Step 3: Verify the hostnames for the pods obtained in Step 2.
The pods are also assigned with unique networking identities for their hostname property.
Type for i in 0 1; do kubectl exec demo-ce-web-$i -- sh -c 'hostname'; done.
for i in 0 1; do kubectl exec demo-ce-web-$i -- sh -c 'hostname'; doneDefaulting container name to nginx.Use 'kubectl describe pod/demo-ce-web-0 -n vk8s-sts' to see all of the containers in this pod.web-0Defaulting container name to nginx.Use 'kubectl describe pod/demo-ce-web-1 -n vk8s-sts' to see all of the containers in this pod.web-1Note: The networking identity or hostname takes the form
<StatefulSetname>-<ordinalindenx>.
Step 4: Verify the PVC information.
The StatefulSet controller creates PVCs that are bound to PVs automatically.
-
To verify the PVC information:
- Type
kubectl get pvc.
- Type
kubectl get pvcNAME STATUS VOLUME CAPACITY ACCESS MODES STORAGECLASS AGEwww-web-0 Bound 123mwww-web-1 Bound 123m 4m16sNote: The PVC name takes the form
<www>-<StatefulSetname>-<ordinalindenx>. The NGINX web servers, by default, serve an index file at /usr/share/nginx/html/index.html. ThevolumeMountsfield in the StatefulSets specification ensures that the /usr/share/nginx/html directory is backed by a PersistentVolume.
Step 5: Write the pod hostnames to the index.html file of the NGINX web server.
Type for i in 0 1; do kubectl exec demo-ce-web-$i -- sh -c 'echo $(hostname) > /usr/share/nginx/html/index.html'; done.
for i in 0 1; do kubectl exec demo-ce-web-$i -- sh -c 'echo $(hostname) > /usr/share/nginx/html/index.html'; doneDefaulting container name to nginx.Use 'kubectl describe pod/demo-ce-web-0 -n vk8s-sts' to see all of the containers in this pod.Defaulting container name to nginx.Use 'kubectl describe pod/demo-ce-web-1 -n vk8s-sts' to see all of the containers in this pod.Step 6: Verify that the NGINX web server serves the hostnames.
To verify if NGINX is serving the hostname, type for i in 0 1; do kubectl exec -it demo-ce-web-$i -- curl localhost; done.
for i in 0 1; do kubectl exec -it demo-ce-web-$i -- curl localhost; doneDefaulting container name to nginx.Use 'kubectl describe pod/demo-ce-web-0 -n vk8s-sts' to see all of the containers in this pod.web-0Defaulting container name to nginx.Use 'kubectl describe pod/demo-ce-web-1 -n vk8s-sts' to see all of the containers in this pod.web-1Verify StatefulSet in Console
Step 1: Navigate to the vk8s object in Console.
-
Log into Console and click
Distributed Apps. -
Click
Applications>Virtual K8s. -
Click on the vK8s object to open its dashboard.
Step 2: Verify pods were created.
Click on the Pods tab to verify that the pods were created per the replicas and StatefulSet configuration.
Step 3: Verify PVCs were created.
Click on the PVCs tab to verify that the PVCs were created per the replicas and StatefulSet configuration.
Scale the StatefulSet
The scaling of a StatefulSet involves an increase or decrease in the number of replicas. You can perform this using Console or from the terminal using kubectl. In both cases, the replicas field is updated and the StatefulSet workload is re-applied.
This example shows the scale-up of the StatefulSet from Console and verifying the scaled objects using kubectl.
Step 1: Navigate to the vk8s object in Console.
-
Log into Console and click
Distributed Apps. -
Click
Applications>Virtual K8s. -
Click on the vK8s object to open its dashboard.
Step 2: Load the edit form.
-
Click the
Stateful Setstab and then click.... -
Click
Editfor your StatefulSet object. -
Update the
replicasfield value to 5 and clickSaveto apply the changes.
Step 3: Verify that the pods were increased to 5.
Type kubectl get pods.
This example shows verification from the terminal:
kubectl get podsNAME READY STATUS RESTARTS AGEdemo-ce-web-0 2/2 Running 0 118mdemo-ce-web-1 2/2 Running 0 116mdemo-ce-web-2 2/2 Running 0 5m56sdemo-ce-web-3 2/2 Running 0 5m13sdemo-ce-web-4 2/2 Running 0 4m30sNote: The
StatefulSetcreates each pod with sequential and unique ordinal index and waits until a pod is inRunningstatus before launching the next pod.
You can also scale-down by reducing the replicas value and performing the previous steps. Scaling down triggers ordered termination of the pods. The controller deletes one pod at a time in the reverse order of its ordinal index. The controller waits for a pod to completely shutdown before attempting to terminate the next pod.
Note: Scaling down of a StatefulSet workload does not delete the PVCs and associated PVs.
Delete StatefulSet
You can delete StatefulSet workload using the terminal or from Console.
To delete using terminal, you can specify the StatefulSet workload configuration by the file or by name.
- To specify by file, type
kubectl delete -f <file.yaml>.
kubectl delete -f <file.yaml>- To specify by name, type
kubectl delete statefulsets <statefulset-name>.
kubectl delete statefulsets <statefulset-name>Note: Deleting a StatefulSet workload through kubectl will scale it down to 0. This operation deletes all pods that are a part of it.
-
To delete from Console:
-
From the Console homepage, click
Distributed Apps. -
Click
Applications>Virtual K8s. -
Click on the vK8s objects and select the
Stateful Setstab in the dashboard. -
Click
...>Deletefor your StatefulSet and confirm deletion.
-
Note: Deleting the PVC after the pods have left the terminating state might trigger deletion of the PV depending on the storage class and reclaim policy. Ensure that you copied the data to some other location before attempting PVC deletion, as you might also lose the PV.
Delete the StatefulSet and corresponding PVCs to delete every object associated with the StatefulSet. You can delete the objects from their respective tabs.
-
From Console:
- Select the PVC object, and then click
...>Delete.
- Select the PVC object, and then click
-
From terminal, execute the following sequence of commands:
-
grace=$(kubectl get pods <stateful-set-pod> --template '\{\{.spec.terminationGracePeriodSeconds\}\}') -
kubectl delete statefulset -l app=myapp -
sleep $grace -
kubectl delete pvc -l app=myapp
-
grace=$(kubectl get pods <stateful-set-pod> --template '\{\{.spec.terminationGracePeriodSeconds\}\}')kubectl delete statefulset -l app=myappsleep $gracekubectl delete pvc -l app=myapp